How to install a split air conditioner step by step: complete guide
Learn how to install a split-type air conditioner safely and efficiently. Discover the necessary tools, key steps, and tips for optimal climate control in yo…
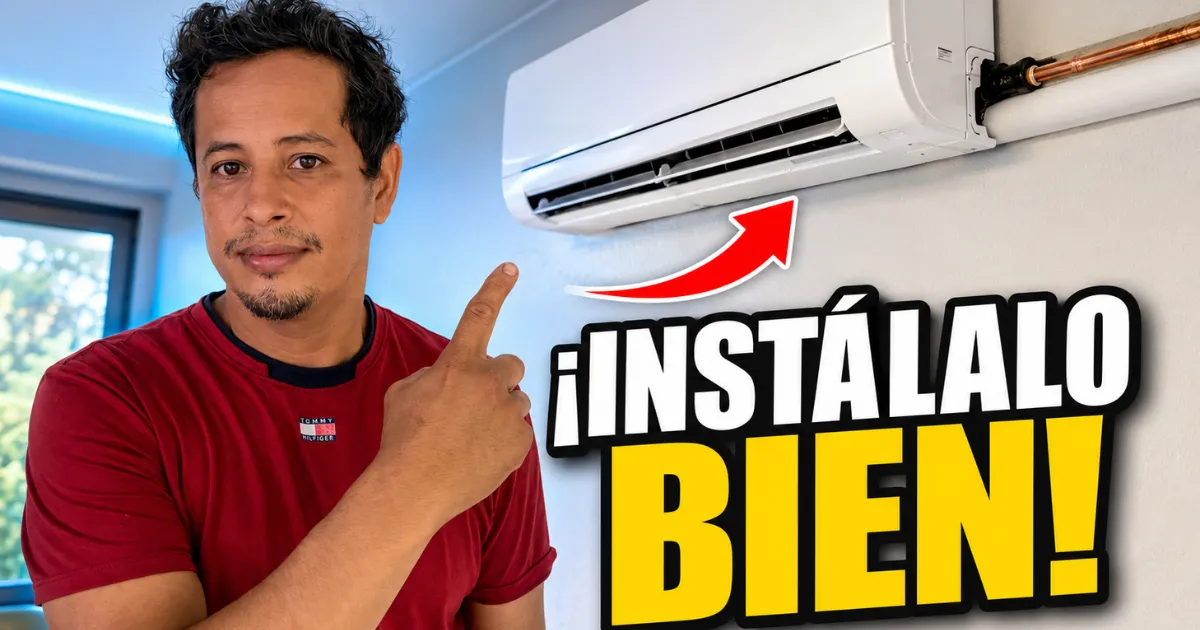
Installing a split-type air conditioner may seem like a complex task, but with the right information and tools, it can be done successfully and safely. This process not only improves the climate control of the space but also ensures efficient operation and proper drainage, preventing future problems.
Introduction
In this comprehensive guide, we explain step by step how to install a split air conditioner, from selecting the ideal location to starting up the system, highlighting the importance of a safe and professional installation.
Tools and materials
To install a split air conditioner, you will need the following tools and materials:
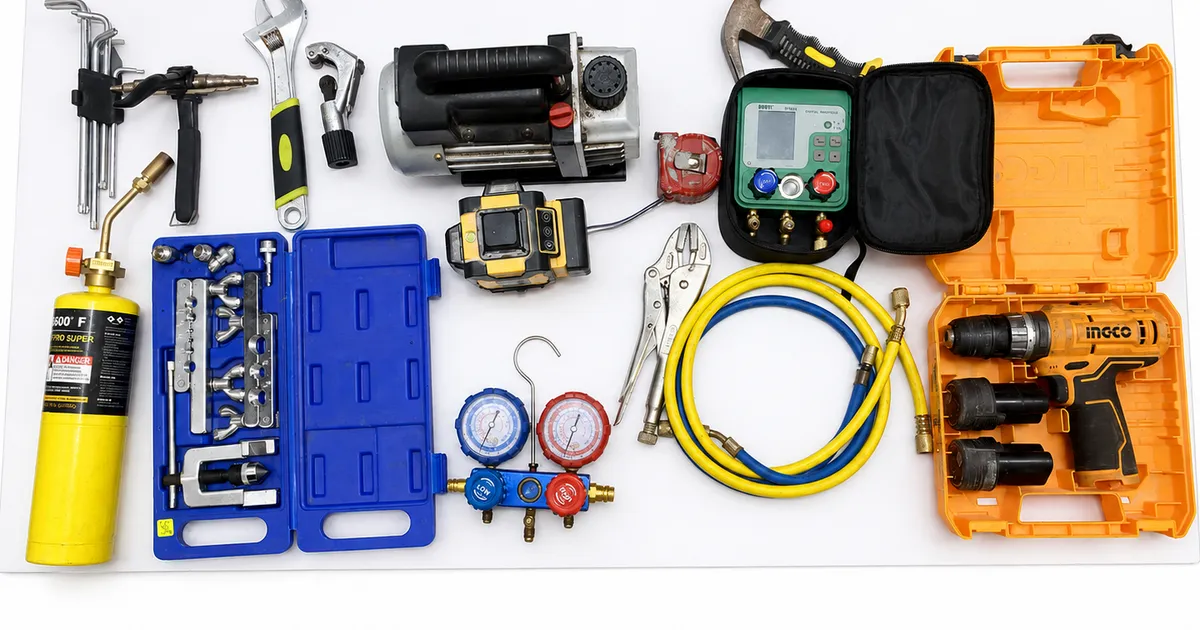
- Drill with masonry and metal drill bits
- Bubble level
- Measuring tape
- Heavy-duty brackets and screws
- Copper tubing for refrigerant
- Insulating material for pipes
- Condensate drain hose
- Proper electrical wiring
- Cable and pipe trunking
- Vacuum pump
- Pressure gauges
- Refrigerant leak detector
Having all these items ready will facilitate the process and help avoid setbacks during installation.
Previous reviews
Before starting the installation, it is essential to perform some key checks:
- Check the capacity and power of the equipment to ensure it is suitable for the space to be air-conditioned.
- Confirm the voltage and type of electrical current available at the location.
- Evaluate the type of wall where the indoor and outdoor unit will be placed, ensuring that it is resistant.
- Measure the distance between the indoor and outdoor units to choose the correct length of pipes and cables.
- Check the pipe diameter as indicated by the manufacturer to ensure compatibility.
- Carefully read the manufacturer's manual to follow model-specific recommendations.
These preliminary steps ensure an installation that meets the technical specifications of the air conditioner.
How many BTUs does an air conditioner need based on square footage?
For a quick estimate in residential rooms located in warm climates, you can calculate approximately 500 BTU/h per square meter. The guideline formula is: square meters × 500 BTU/h. For example, a 12 m² room would need about 6,000 BTU/h; an 18 m² room, 9,000 BTU/h; a 24 m² room, 12,000 BTU/h; a 36 m² room, 18,000 BTU/h; and a 48 m² room, around 24,000 BTU/h. Mini-split unit capacity charts show that the relationship between surface area and BTU can vary considerably depending on the room's conditions.
This calculation is for guidance only, as the correct capacity also depends on ceiling height, climate, sunlight exposure, insulation, window size, number of occupants, and heating appliances. An undersized unit will run longer without reaching the desired temperature, while an oversized unit may cycle on and off too frequently, consume more energy, and have poorer humidity control. For precise selection, a professional heat load calculation is recommended.
Unit Locations
Indoor unit
The indoor unit should be mounted on a firm, level wall, preferably free of any obstructions that could impede airflow. It is important that it be located near a drain outlet to facilitate the removal of condensate. Furthermore, it should be positioned at an appropriate height to optimize air distribution and prevent direct airflow from affecting occupants.
Outdoor unit
The outdoor unit needs a stable base, such as a metal stand or sturdy platform, to support its weight and reduce vibrations. It should have good ventilation to dissipate heat and sufficient space for maintenance, avoiding enclosed spaces or areas too close to walls or plants that could block airflow.
Step-by-step installation
Warning: Before starting installation, disconnect the power supply. Electrical work, vacuuming, and refrigerant handling must be performed by a qualified technician.
1. Secure the plate
Mark the location on the interior wall where the indoor unit's mounting plate will be installed. Use a level to ensure it is perfectly horizontal. Then, secure the plate to the sturdy wall using appropriate screws and wall anchors.
2. Prepare the step
Drill a hole in the wall for the copper pipes, electrical wiring, and drain hose. Before drilling, check that there are no hidden electrical wires or pipes in the wall that could be damaged.
3. Prepare pipes and drainage
Organize the copper coolant piping, covering it with insulating material to prevent heat loss. The drain hose should be installed at a slope to allow the water to flow naturally to the outside, preventing accumulation and potential leaks.
4. Place the indoor unit
Place the indoor unit on the mounting plate, making sure it is firmly secured and level to prevent vibrations and ensure proper operation.
5. Install the outdoor unit
Secure the outdoor unit to a sturdy base or stand, ensuring it has adequate ventilation and space for maintenance. Verify that it is level and stable to prevent noise and damage from vibrations.
6. Connect the units
Connect the copper pipes and electrical wiring according to the manufacturer's instructions. It is important not to tamper with electrical safety devices or the refrigeration system without proper training.
7. Vacuum the system and check for leaks
The vacuum pump removes air and moisture from the closed circuit, which is essential for optimal air conditioning performance. Never purge the system by releasing refrigerant into the environment, as this is harmful and prohibited by law. Use leak detectors to ensure the system is airtight.
How many microns of vacuum should an air conditioner achieve?
When using a digital vacuum gauge, the system evacuation should reach 500 microns or less, unless otherwise specified by the manufacturer. Achieving this level helps remove air, moisture, and other non-condensable gases from inside the pipes, preventing unstable pressures, performance loss, and potential compressor damage. A conventional pressure gauge does not offer sufficient accuracy to confirm a deep vacuum, so the measurement must be taken with a vacuum gauge.
After reaching 500 microns, the pump should be isolated and the reading observed for approximately 10 minutes. If the value increases rapidly and continues to rise, there may be a leak; if it increases slowly, moisture may remain in the system. In a clean, dry installation, a final vacuum of between 200 and 300 microns can be achieved, but the procedure and value specified by the equipment manufacturer must always be followed.
Check the air conditioner's power supply voltage
Before turning on the air conditioner, the supply voltage should be measured with a multimeter and compared to the value indicated on the rating plate or in the manufacturer's manual. Depending on the model, the unit may operate on 110–120 V or 220–240 V, so it should never be connected based on an assumption of the voltage. It is also advisable to repeat the measurement while the unit is running, as an excessive drop or rise in voltage can cause reduced performance, increased amperage, electronic failures, or damage to the compressor. If the voltage remains outside the range specified by the manufacturer, the unit should be turned off and the electrical installation inspected. This inspection should be carried out by a qualified technician using appropriate equipment.
8. Test the equipment
Turn on the air conditioner and check that it cools properly, that the airflow is constant, and that there are no unusual noises. Observe for excessive vibrations, ensure the drain is functioning correctly, and check the control panel for any error codes.
Check the electrical consumption with an ammeter clamp.
After turning on the air conditioner, measure the electrical current draw with a clamp meter, placing it around a single conductor and without touching any live parts. Compare the reading to the nominal current indicated on the nameplate or in the manufacturer's manual. In inverter units, the amperage can vary depending on the temperature, heat load, and compressor speed, so it's best to perform the check after the system has been running steadily for several minutes. If the current draw exceeds the permissible value, fluctuates abnormally, or the unit activates the electrical protection, turn it off and check for potential problems with voltage, wiring, ventilation, pressure, or compressor operation. This measurement should be performed by a qualified person using an instrument with the appropriate safety rating.
Common mistakes
To avoid problems, keep in mind the following common mistakes:
- Installing the indoor unit unevenly can affect drainage.
- Placing the drain without a slope, causing water to accumulate.
- Excessive bending of copper pipes, damaging the flow of refrigerant.
- Do not create a vacuum, as this reduces efficiency and damages the equipment.
- Placing the outdoor unit without sufficient ventilation, causing overheating.
- Performing improper wiring can cause electrical failures.
- Failure to check for leaks can cause refrigerant loss and environmental damage.
Costs and when to call a technician
The cost of installing a split air conditioner varies depending on the power of the equipment, the length and difficulty of pipe installation, the height and type of wall, the necessary supports and possible electrical adaptations.
It is advisable to call a certified technician when complex electrical work, refrigerant draining and recharging are required, or if the installation involves work at heights or on complex structures. This ensures the safety and proper functioning of the system.
Maintenance
To prolong the life and efficiency of your air conditioner, perform the following tasks regularly:
- Clean the filters to prevent blockages and improve air quality.
- Keep the outdoor unit clear of dirt, leaves, or any obstructions.
- Check that the drain is clear and functioning properly to prevent leaks.
- Check that there are no unusual noises or vibrations during operation.
- Request annual professional maintenance to check the electrical and refrigerant system.
Frequently Asked Questions
Can I install it myself? Basic installation can be done with DIY skills, but for handling electricity, creating a vacuum, and handling refrigerant, it is recommended to have a certified technician.
Is it mandatory to create a vacuum? Yes, a vacuum is essential to remove air and moisture that affect performance and damage the system.
Where should the outdoor unit be placed? In a location with a stable base, good ventilation, and access for maintenance, avoiding enclosed spaces or areas with obstacles.
What happens if the drainage fails? Condensed water can accumulate, causing leaks, wall damage, and equipment malfunction.
Conclusion
Installing a split air conditioner requires planning, the right tools, and attention to technical details to ensure efficient and safe climate control. While some steps can be done DIY, it's essential to have a certified technician handle the electrical connections, evacuation, and refrigerant handling to guarantee the system's proper functioning and longevity.
If you want to enjoy a cool and comfortable environment, follow this step-by-step guide or consult a professional for optimal installation.